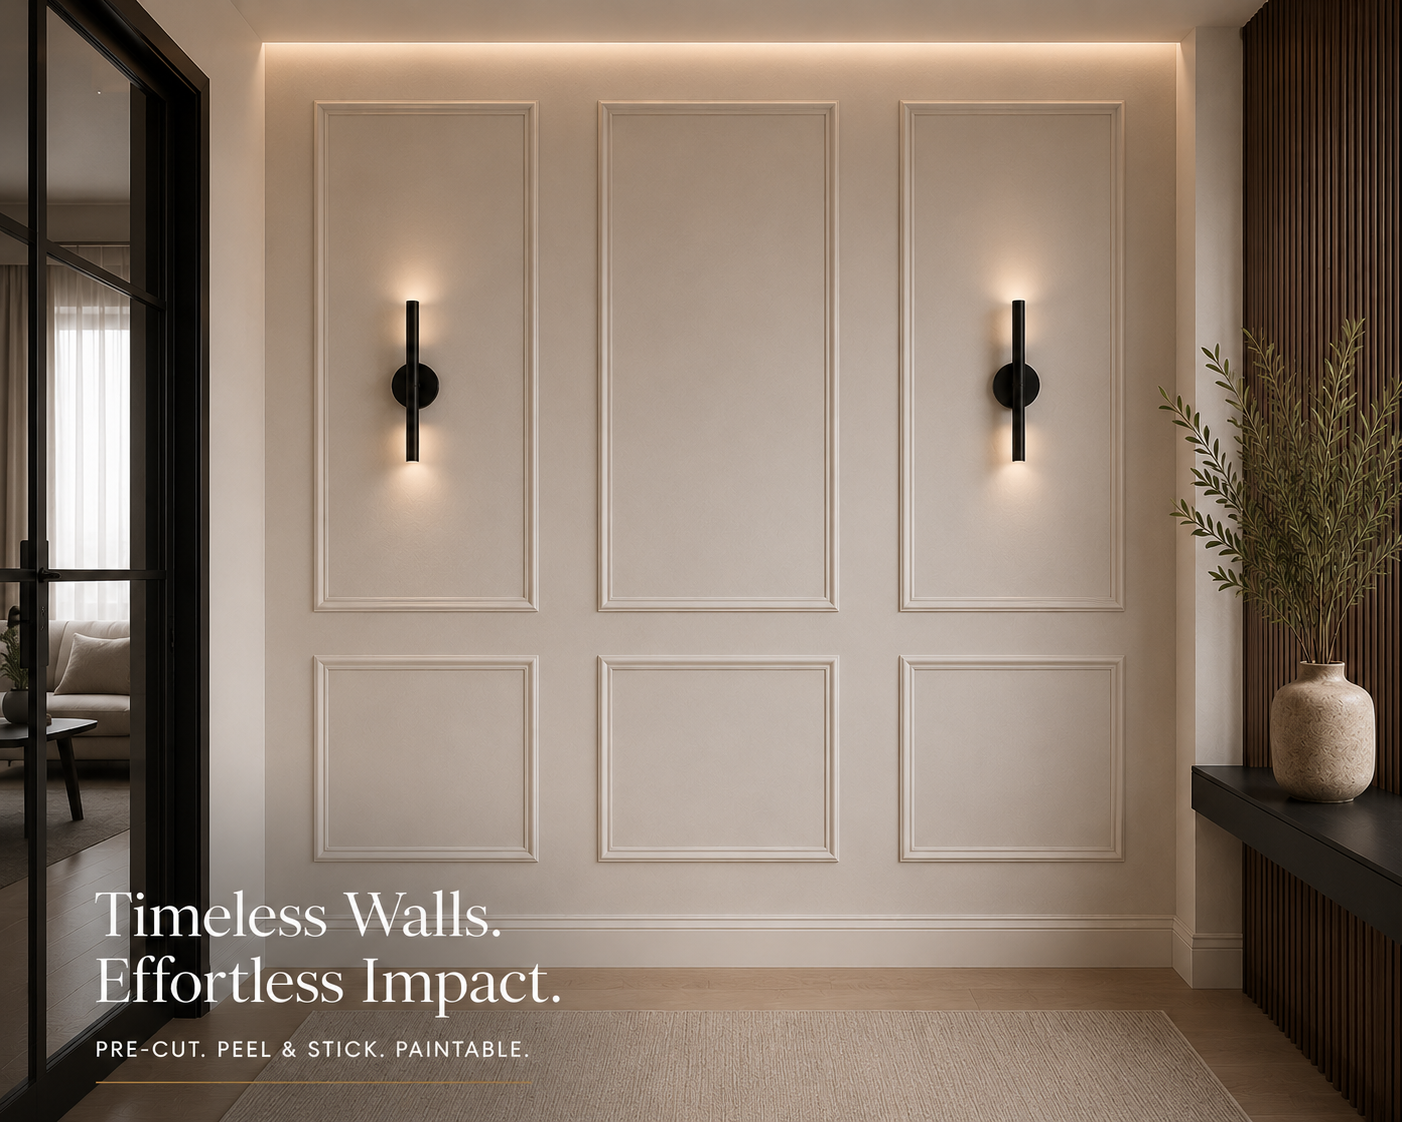
 Almost Gone
6.4 metres per pack
Classic Panel Trim – Pack of 3
Pre-cut pieces that form one large rectangle and one square panel per pack.
Coming Soon · $149
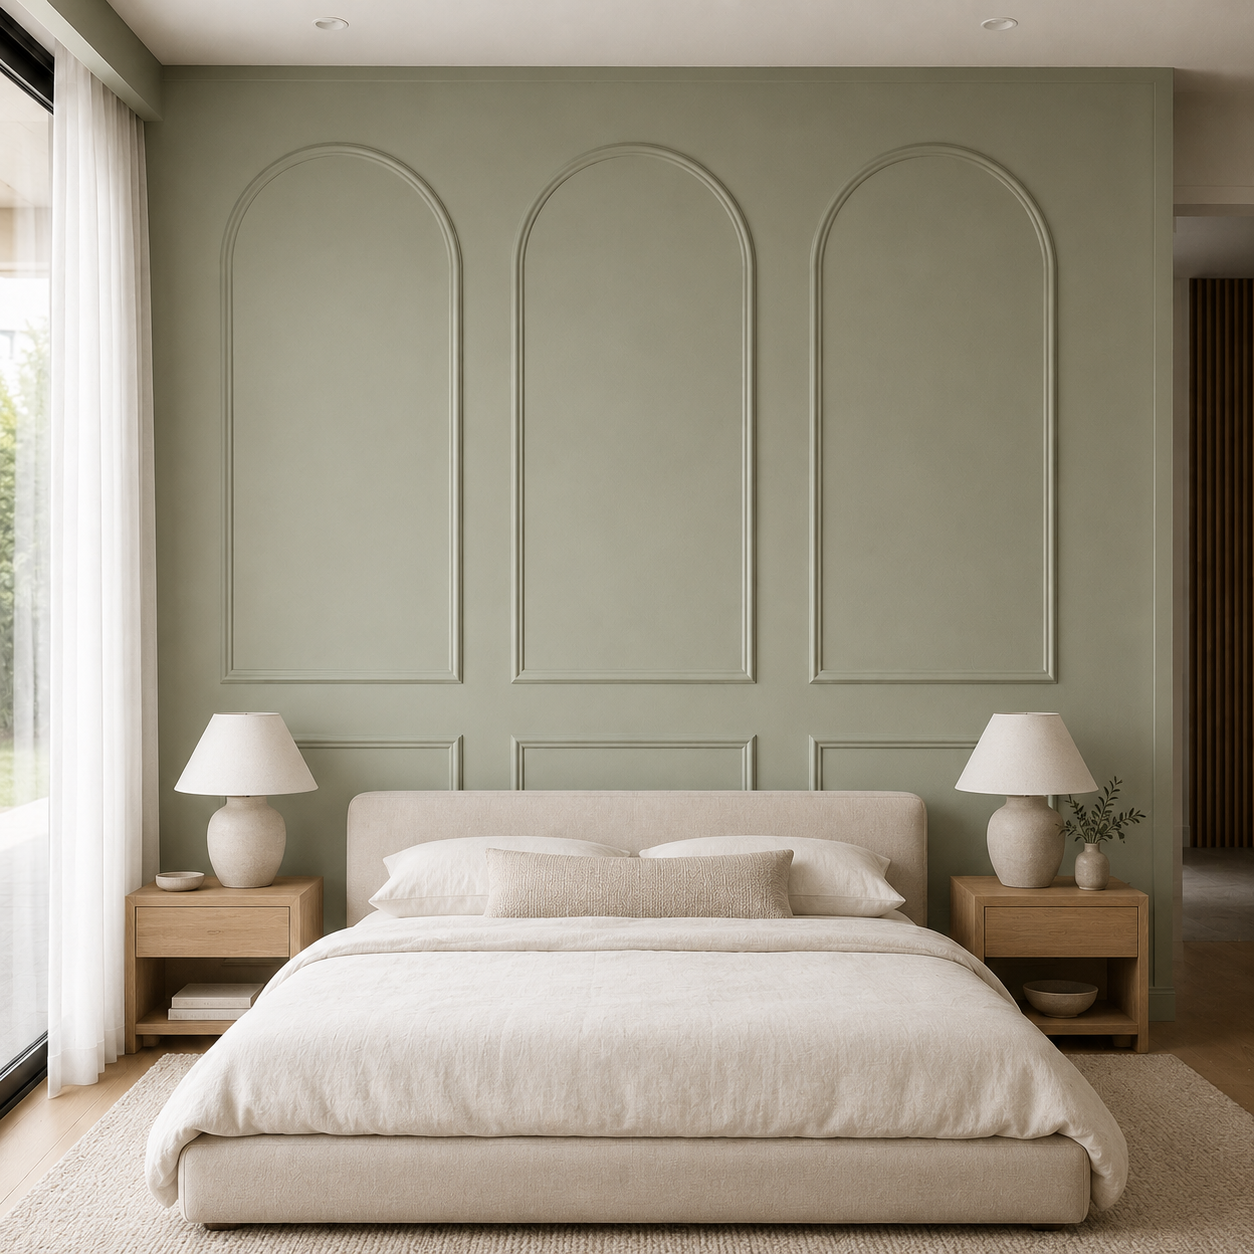
Meet our new Three-Arch Feature Wall Moulding—a graceful, ready-planned design that brings soft architectural detail to bedrooms, living rooms and entryways.
Choose your look
Start with a complete design or add extra metres to make it your own. Every kit is ready to measure, place and paint.
Almost Gone6.4 metres per pack
Pre-cut pieces that form one large rectangle and one square panel per pack.
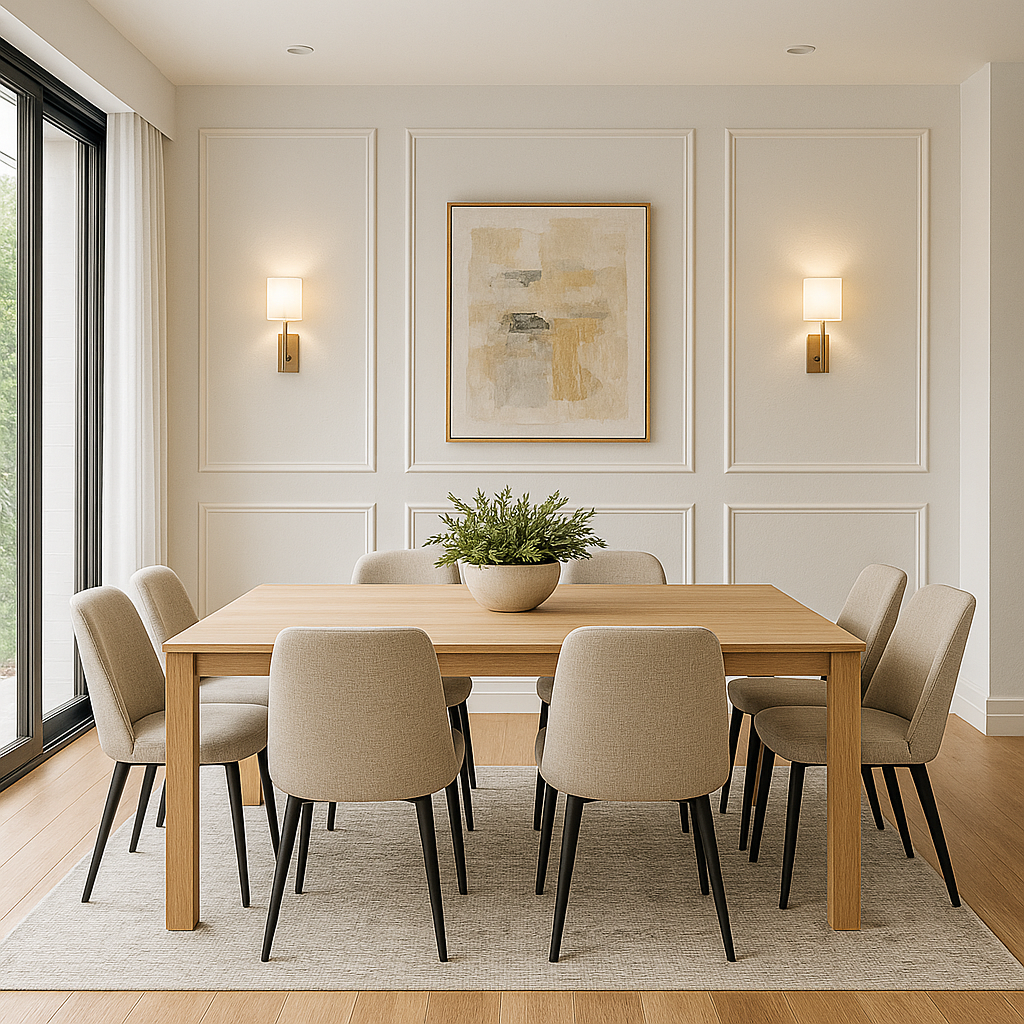 Most Popular
30-piece set · 21.5 metres
A complete statement-wall set that creates six balanced rectangular and square panels.
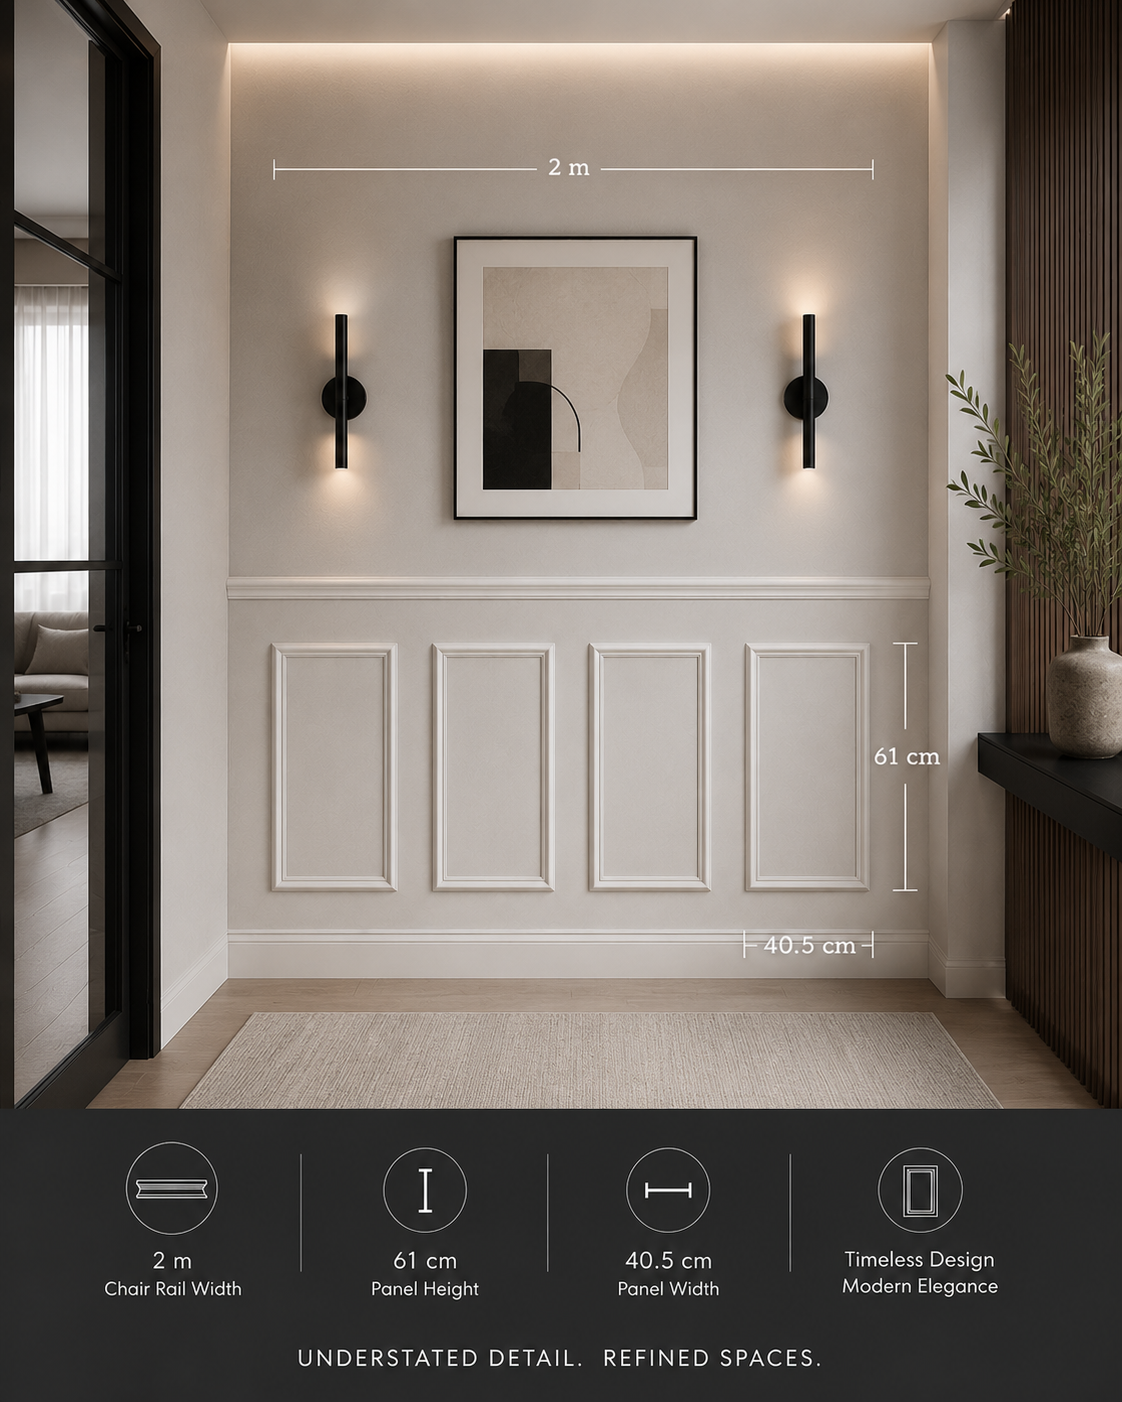 Amazon: In Stock
4 panels + 2m chair rail
A coordinated kit for four lower-wall panels with a matching chair rail above.
 New
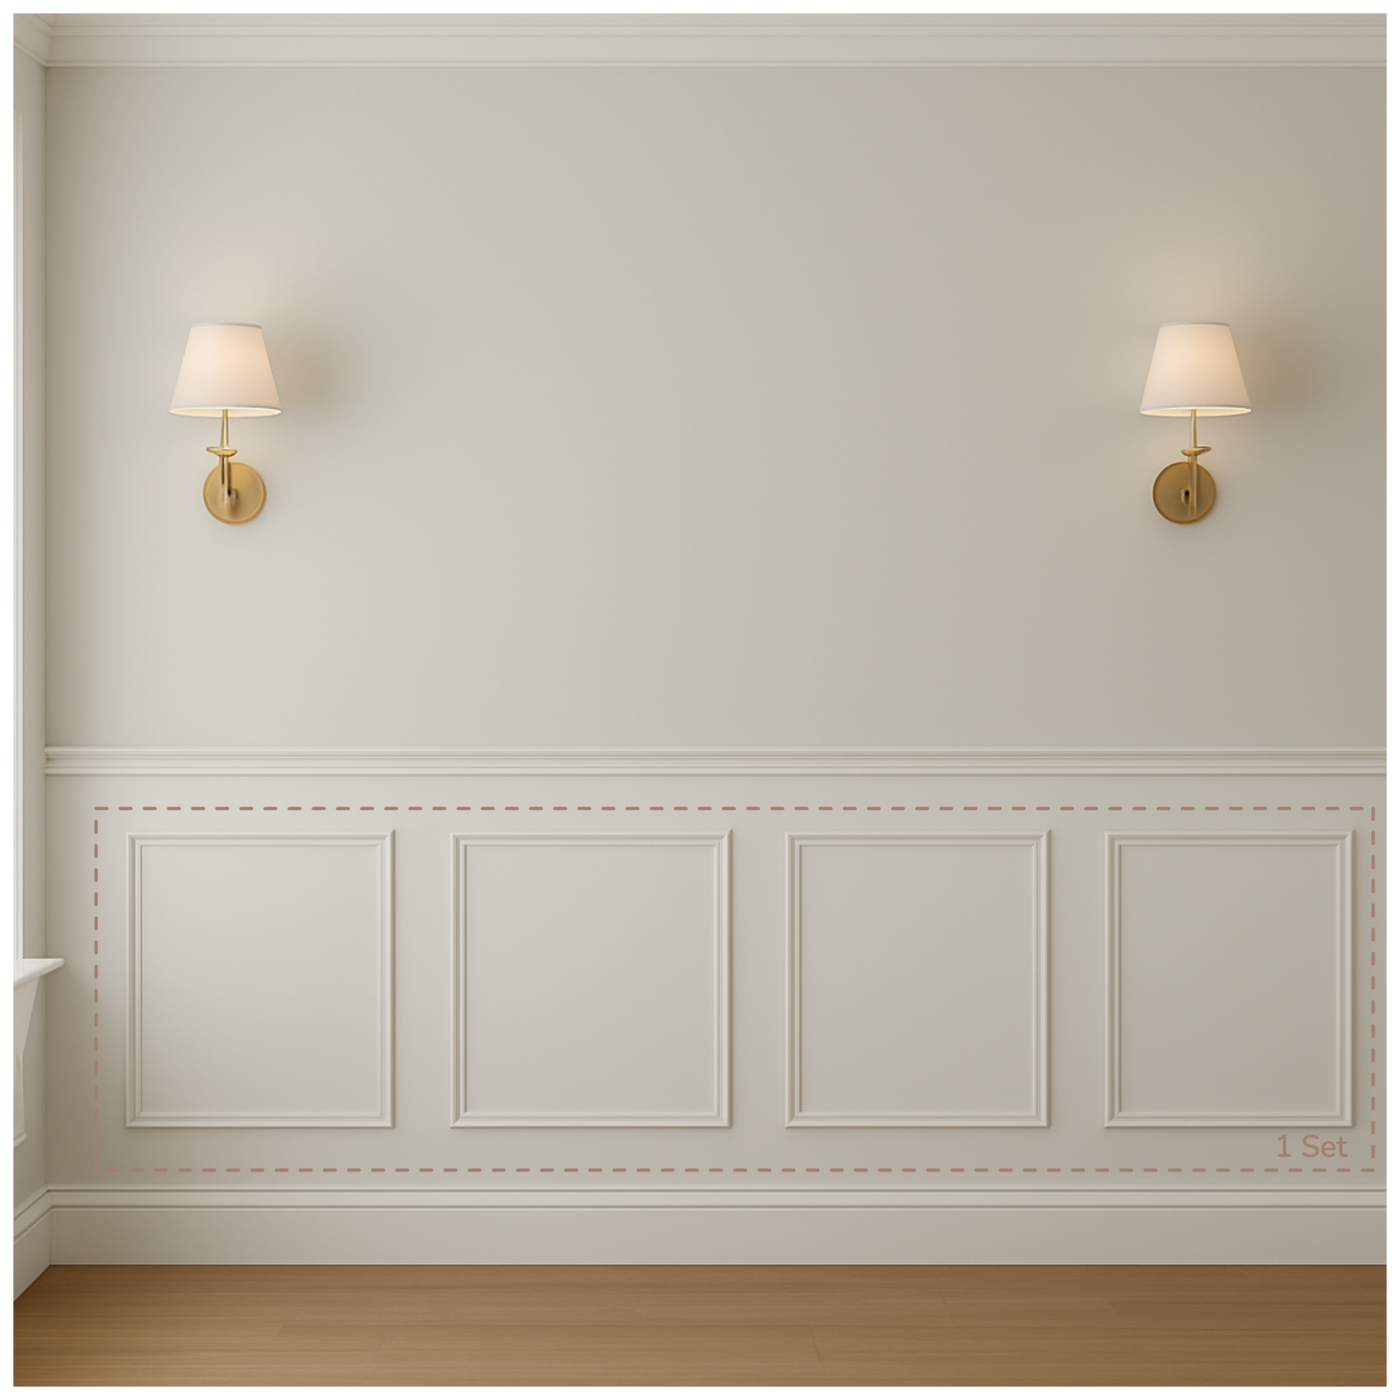
8.1 metres · 16 pieces per set
Three easy-fit sets, each creating four balanced lower-wall rectangles.
A small change with a big finish
Traditional wall panelling looks custom-built because the spacing and proportions are carefully planned. Our kits do that planning for you, with lightweight pieces cut to useful sizes and adhesive already applied.
Read the installation stepsFrom box to beautiful
No workshop required. Allow time for measuring and finishing, then enjoy a room that feels considered and complete.
Unbox the pieces and arrange the design on the floor before it reaches the wall.
Use a pencil and level to mark an even layout. A few careful minutes make the finish.
Remove the backing, align each piece and press firmly. Add construction adhesive if needed.
Fill small gaps, then paint the trim and wall together or choose a contrasting colour.
Use a stronger construction adhesive for chair rail pieces or on textured walls. Adhesive, filler and paint are not included.
Ready when you are
Browse the full range, combine different kits in one cart and check out securely with Square.
Need a hand?
Send your wall measurements and a quick photo. We’ll help you choose a practical layout before you order.
Email support